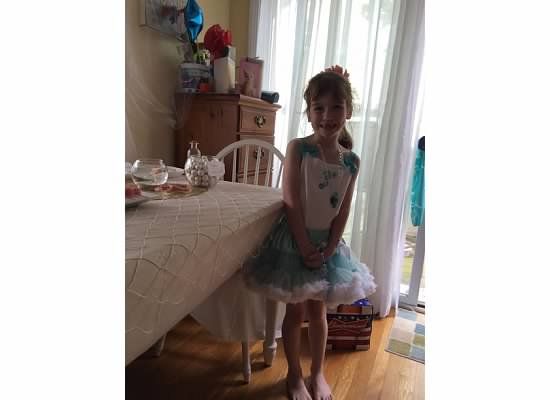
Calling
All Mermaids!
Swim on
over to Kayleigh’s house for an Under the Sea birthday!
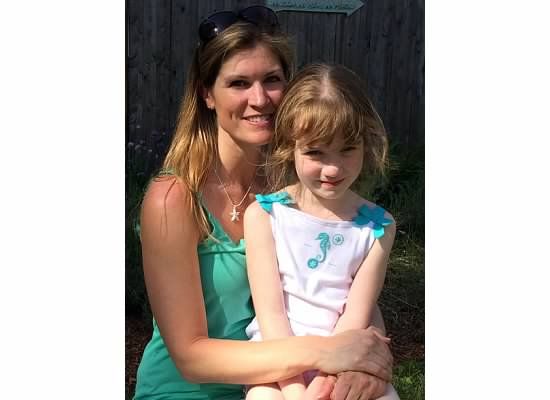
Kayleigh and I
absolutely love the water, the lake, the beach, anything to do with sandy
beaches, fish, and sunshine. So when we were talking about her 7th
birthday, we came up with an Under the Sea theme. There are SO many ideas out
there and it was so much fun to come up with the color scheme, the menu, and
the favors! I really got to delve into my creative vice for this one and had so
much fun!!! I think we picked this theme
out way early and it was actually before the summer had ended the year BEFORE
her birthday so we got a lot of the ocean/beach themed items on clearance. Go
clearance!
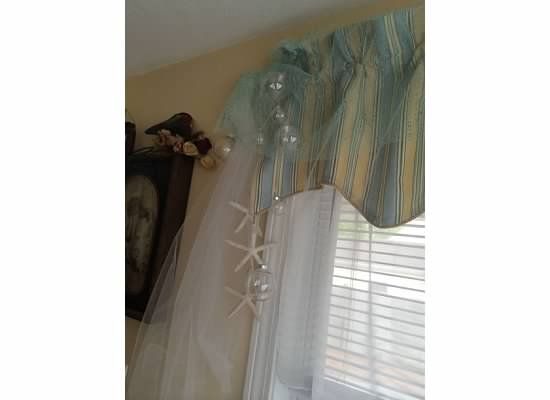
Most of the décor in my house is ocean/beach theme so we did not have to look far for inspiration or spend extra money on décor because we had it around the house. Starfish garlands, hues of sea green, gold, light pink, and shimmer pearl white complemented the theme. We used glass jars filled with sand, sea shells, and sea glass.
Most of the décor in my house is ocean/beach theme so we did not have to look far for inspiration or spend extra money on décor because we had it around the house. Starfish garlands, hues of sea green, gold, light pink, and shimmer pearl white complemented the theme. We used glass jars filled with sand, sea shells, and sea glass.
For Halloween, she
even wanted to be an Under the Sea Fairy, so I made her costume out of yards of
tulle and ribbon and it came out so cute! Take a look! My tulle dress inspiration board on Pinterest can be found here with lots of DIY tutorials.


The
Favors
We found really cute
starfish wand ideas so I bought the starfish at Christmas Tree Shops, the
dowels and ribbon at AC Moore, and with my trusty glue gun, got to work. They
came out fabulous! Kayleigh actually used one as part of her Halloween costume. They can be purchased through my Etsy shop here!

We decided to also give out little fish as favors, so for $0.89 each, I found
little glass jars at Christmas Tree Shops and filled them with the aquarium
rocks and sea glass.
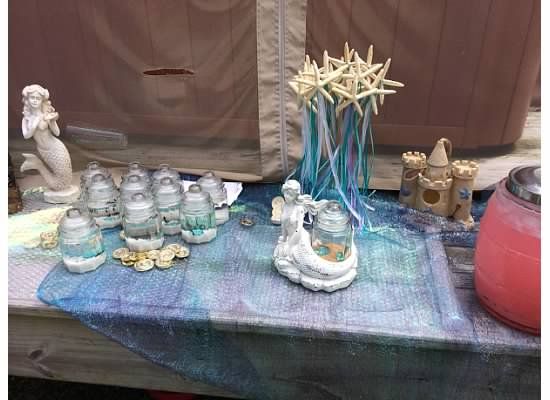
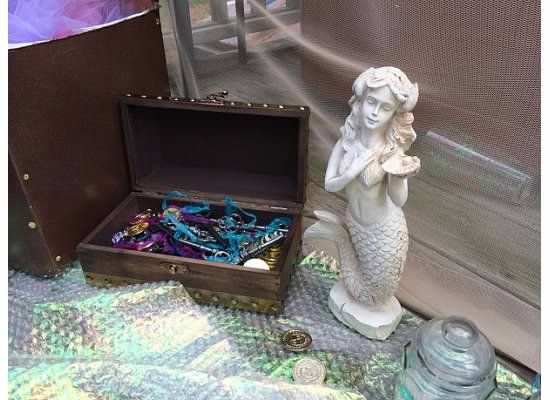
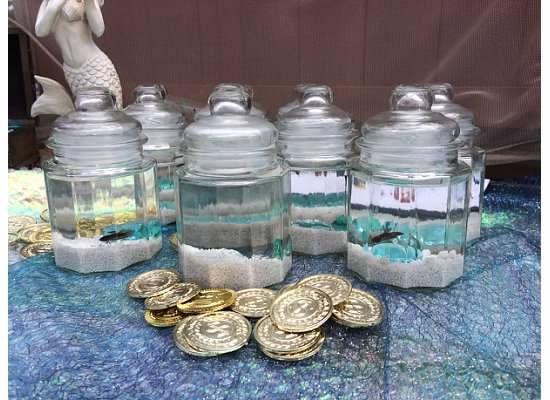
The fabric was just clearance fabric from Joann's and I found rolls of iridescent shimmery bubble wrap from the Christmas Tree Shops for under a dollar! Perfect! Add some clearance under the sea mermaids and fish, pirate coins, and a treasure chest full of magical mermaid keys and pretend jewels from Michaels and we are done!
The
Invitations
The invitations were a
turquoise seahorse style that I found on Zazzle.com and I loved them the moment
I saw them. They were really wedding invitations, but hey- who doesn’t love
repurposing things? They worked perfectly for this party and were a beautiful
keepsake for afterwards.
I saved a cardboard box
and made a treasure chest out of it using brown spray paint, gold glitter spray
paint, ribbon, jewel stickers from the dollar section at Michaels, and
voila! I used this to house the “Mermaid
Attire” of pink and purple tutus that I got from a wholesale tutu shop for $3
each! I also created a Mermaid Grotto sign to hang above the chest to encourage
all little mermaids to don their mermaid attire upon arriving at the party.
I also made one of those flowing fabric tents out of curtains and an embroidery hoop. For about $14, it makes the perfect grotto for my little mermaid! You can find the how to here.
I loved how Pottery
Barn had a “Mermaid’s This Way” sign and so I made my own. This was placed in
the driveway to direct all little mermaids to the back yard. We placed clear
balloons and clear plastic ornaments (gotten on clearance after Christmas at
Michaels) around the back yard to act as “bubbles” I tied them in bunches of
5-6 using balloon weights to hold them down sporadically around the yard. It
came out so cute! A real under the sea bash!

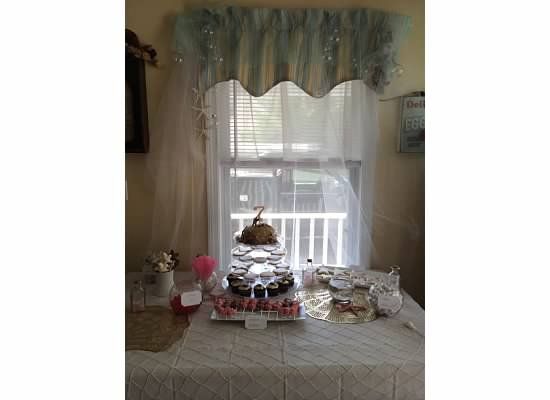
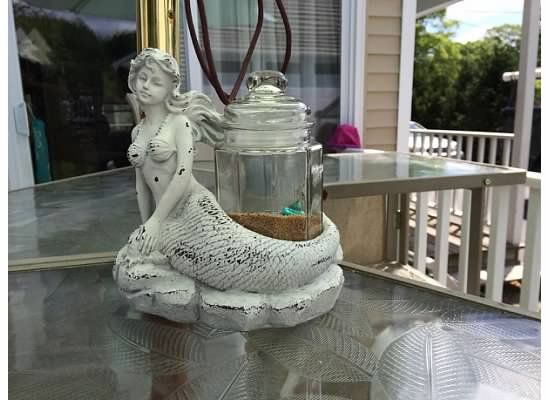
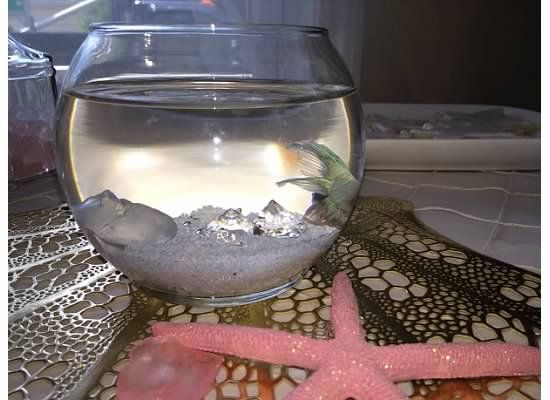
We also had a special "guest"! A beta fish that Kayleigh named "Shimmer" also was on the dessert table. The gold shell placemats I found for a dollar at the Christmas Tree Shops a day before the party! So cute.
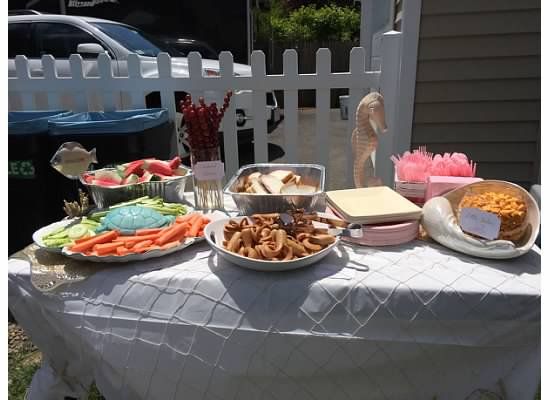
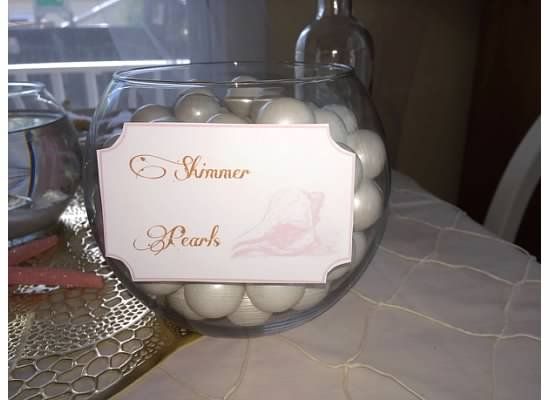
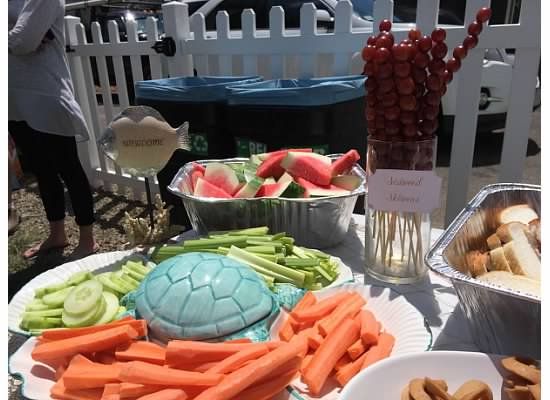
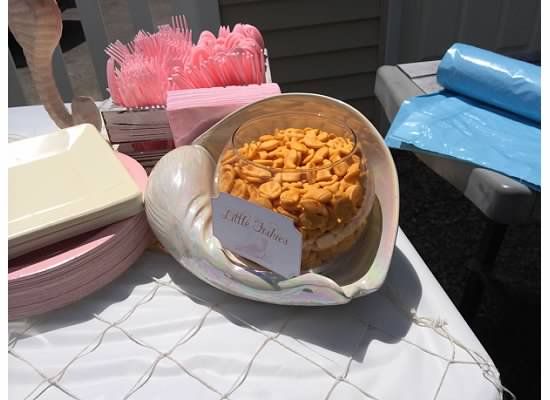
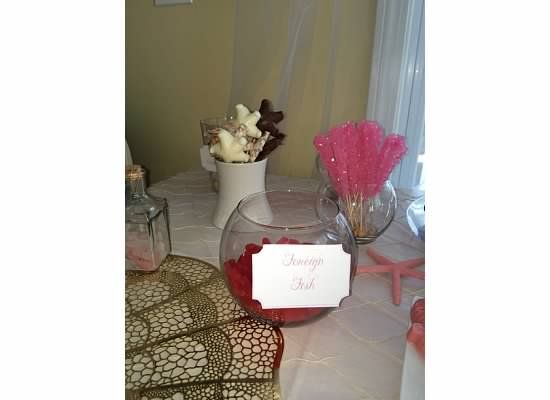
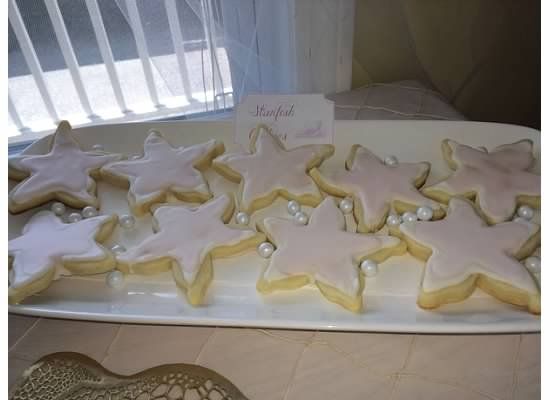
We bought shimmer white gumballs and sixlet candies and put them in a fish bowl. Food was simple fare consisting of "Octo-Dogs", Peanut Butter and Jellyfish sandwiches, starfish and shell sugar cookies, grape "seaweed skewers", seahorse and starfish molded chocolate pops, watermelon wedges, carrot and celery sticks, pink lemonade, strawberry mint water, Oyster Pearls (shimmer chocolate candies), Oyster Cookies, Swedish Fish, and many other delicious treats- including the cake!
The Cake
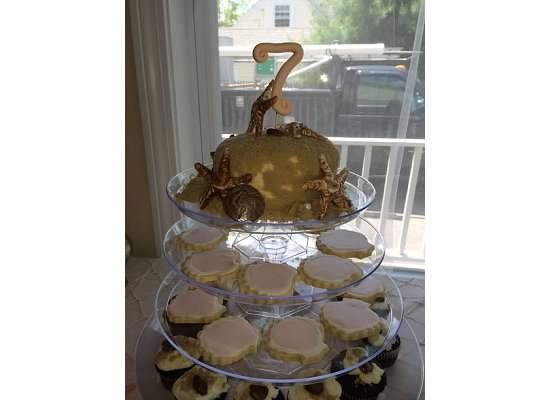
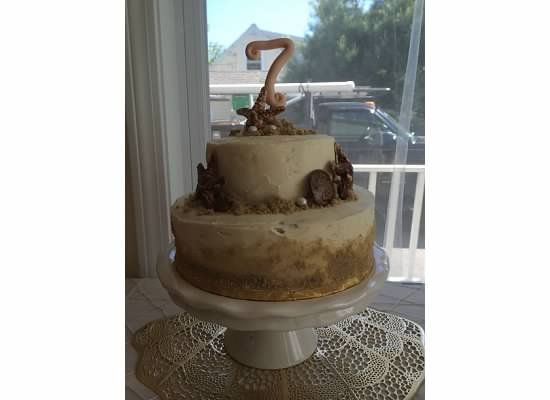
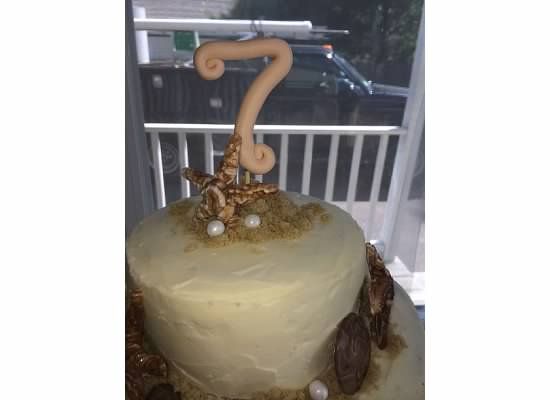
Kayleigh's little cake was a sand castle cake. I used chocolate sea shell molds to make the shells and brown sugar for the “sand”. Then I saw a beautiful tiered cake on Pinterest that had simple vanilla buttercream frosting on it, molded chocolate shells, and sugar sand. Very simple and elegant. I used two 6x3 round cake pans and two 9x2 round cake pans as well as cake boards and it came out great! I also made 12 little cupcakes with sugar sand, buttercream and one gorgeous molded seashell on the top. I chose to serve the smaller cake with the cupcakes at the kid's party and where we have the family party afterwards, served the tiered cake then. Both came out better than I could have hoped and it was my first time making a tiered cake! I molded the "7" out of clay and baked it the day before to complement the theme.
Happy Birthday my darling girl! It is hard to believe that you are seven already! Where has the time gone? Please always stay as sweet as you are! Don't grow up too fast! Mumma loves you with all of her heart!